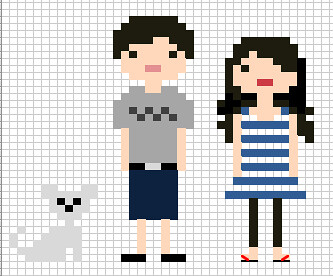
After seeing this cute idea from Martha Stewart living, I decided to set out and make my very own little cross stitch family to hang on our walls. I don't have any experience, at all, with embroidery stuff (that's how little I know). So I dug up my little craft needles and found a blunt needle that had a large eye that looked like it was for embroider and just used that. I read somewhere that you can also use tapestry needles (they also share the blunt tip). I don't have those nifty cross stitch programs I read while trying to figure out how to get started, instead I just used excel and made the cells into squares and colored the square to draw out my plan. In my opinion, this is far easier than coloring in graph paper. I was able to make about 10 different iterations of each person and outfits really quickly. This is extremely convenient for my type-a personality.
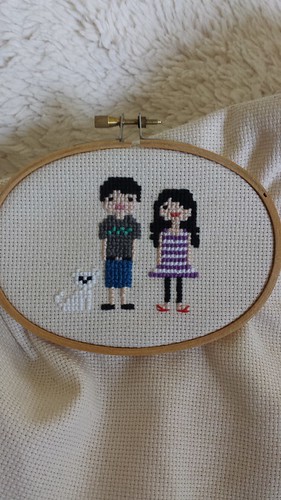
For this project, I chose to go with DMC's Charles Craft 14 count Aida in Natural because I have a little white dog I needed to stitch. She would have been a ghost on a white Aida cloth. She is still hard to see, but it's not bad and I wouldn't have done it differently. I followed these directions to teach myself how to make the basic X but I did not separate the strands. I just used the whole floss and I think it turned out pretty great. I think real cross stitchers would scoff at this, but I liked it looking more full. It's subjective. Yes they look less like X's but they have this pearl look that I liked when I researched around the web. I also did not follow the instruction to stitch a row in the link above because I read somewhere that it may give you uneven stitching. I have no idea if that is true, I just picked one advice and followed it.
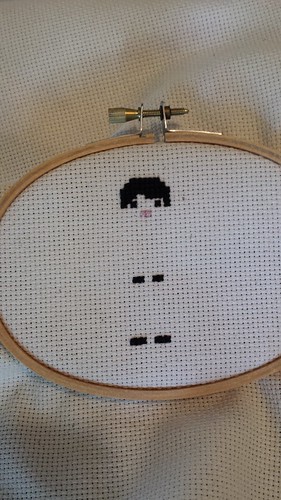
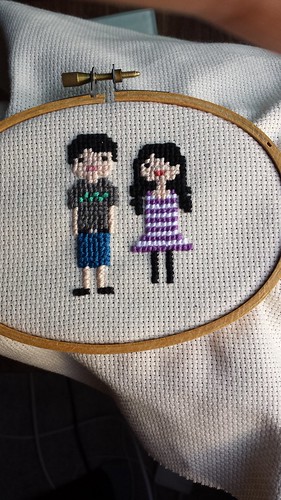
For my hubby, I stitched all the black first, then went back and stitched color by color. In hindsight, I would have just switched colors as I went because the back got insanely messy and difficult to navigate. It was very frustrating. When I moved on to work on myself, it was a lot easier to just switch colors. This is really hard to explain, but once you get working, you will know exactly what I'm talking about. Or maybe not...this is my first project after all!
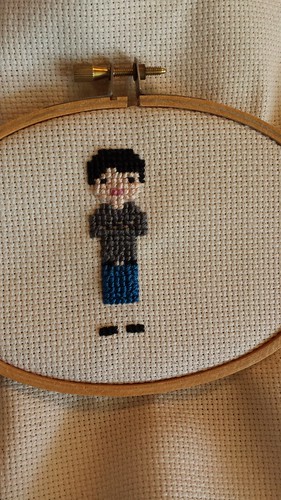
There he is, in all his glory...with no arms of legs!
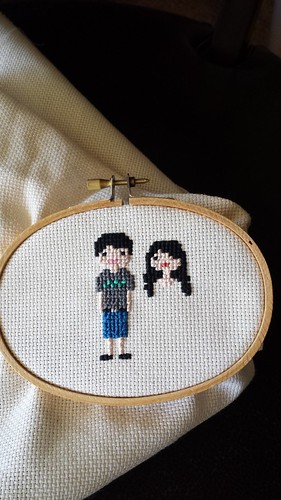
You can sort of start seeing what I mean by just working from top to bottom and not doing all of one color first on the girl above.
Nearly finished!
Finished! I wanted to stitch our family name at the bottom but I wanted to wait till I could fill in the rest of our growing family before adding the finishing touches. I can still frame it as it is. I cut this off into a square then zig zag stitched the borders to keep the edges from fraying.
Note on back stitching:
- I back stitched around our dog to help bring her out a little more with a very light gray. It doesn't show up in pictures but it did make a noticeable difference.
- I also back stitched the red sandals. I used 2 strands of plain ol' red to make it nice and thin so it doesn't just look like I'm wearing red shoes.
For your reference, here are some of the colors I used. All are DMC floss.
Skin = 948
Black = 310
White dog = B5200 (snow white)
Female mouth = 3328
Male mouth = 778 (but this ended up way too light and blended in with the skin color. I rectified this by ever so slightly coloring it with my benetint makeup...so definitely go brighter or something)



No comments:
Post a Comment