Tuesday, February 7, 2012

Homemade Greek Yogurt

Homemade Greek yogurt sounds like it would be super difficult, but it is so easy. Seriously. All you need is two ingredients: Milk and bacteria. I used this yogurt to make froyo with our yogurt maker. It's funny to think that all of this make-my-own-yogurt came to me one night when I was really craving Pinkberry and wanted to make my own tangy froyo.

Homemade Greek Yogurt

Ingredients:

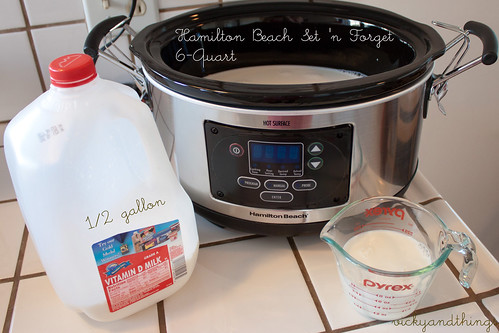
Whole Milk (Or 2%, 1%, skin, goat milk-I used whole)
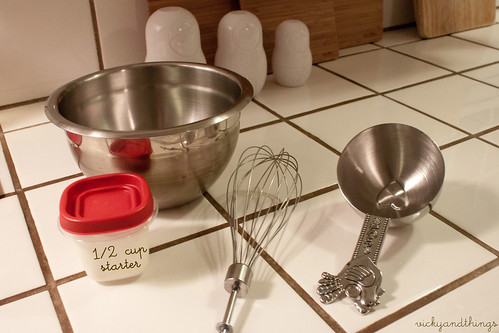
0.5 Cup plain yogurt with active cultures (I used half a cup of my previous batch here)


Homemade Greek Yogurt


You will also need a bowl, whisk, 1C measuring spoon, and colander (not pictured)

Directions:

1. Pour half a gallon (8 C) of milk into the crock pot and set to low for 2 hours and 30 minutes. Heating the milk changes the protein structure to be able to make yogurt.

2. Unplug the crock pot and leave it in when the time met and let the milk cool for 3 hours. The milk needs to cool down to 110-120 degrees so it is not too hot (kills the bacteria) or too cold (bacteria won't get busy).

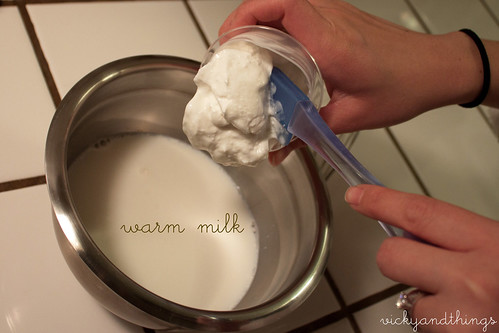
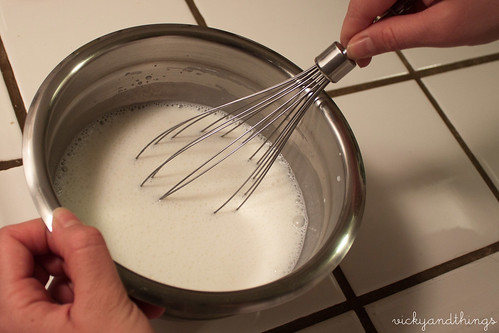
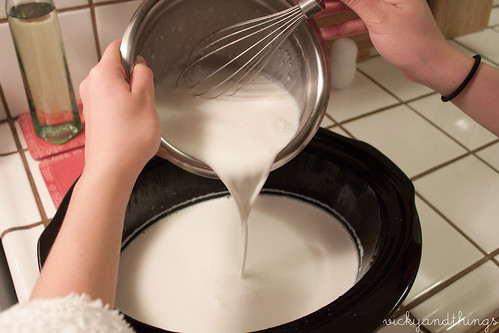
3. After 3 hours, take one cup warm milk and half cup of plain yogurt and mix in a separate mixing bowl and stir well.

Homemade Greek Yogurt

Homemade Greek Yogurt

4. Dump mixture back into the crock pot and stir.

Homemade Greek Yogurt

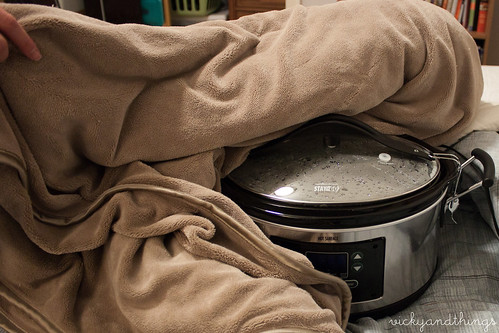
5. You'll need to maintain the temperature and keep the mixture in the 110-120 temperature range for 10-12 hours. I put a thick and heavy blanket around the pot and let it culture overnight.

Homemade Greek Yogurt

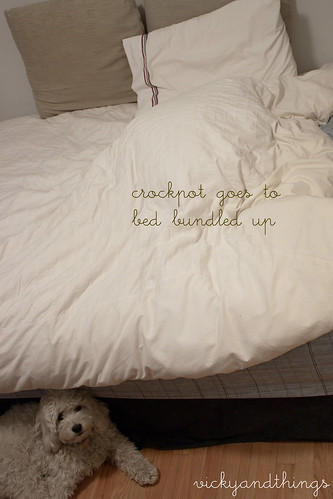
Also put the comforter over the bundled crock pot for additional insulation.

Homemade Greek Yogurt

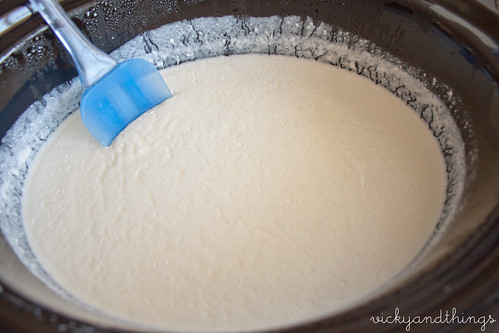
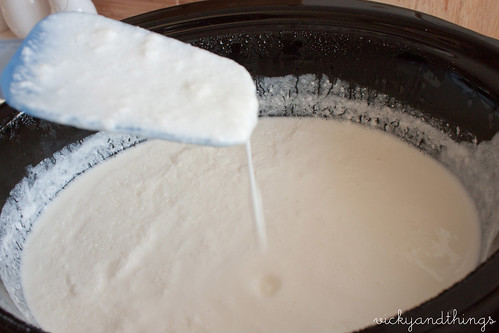
In the morning, you should get yogurt! Or what low-fat yogurt looks like. (Ella likes to sneak in all our pictures, somehow)

Homemade Greek Yogurt

You'll notice the liquid on top and in the mixture. That is the whey and you will be separating that out when we strain, next.

Homemade Greek Yogurt

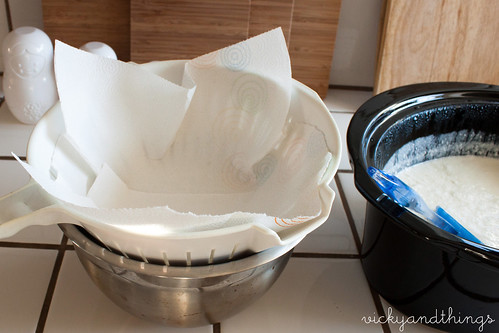
6. Line a colander in paper towels or cheese cloth. The latter is the proper way, but I don't have any on hand and I read this was a perfectly fine substitute. It has been working perfectly fine for me!

Homemade Greek Yogurt

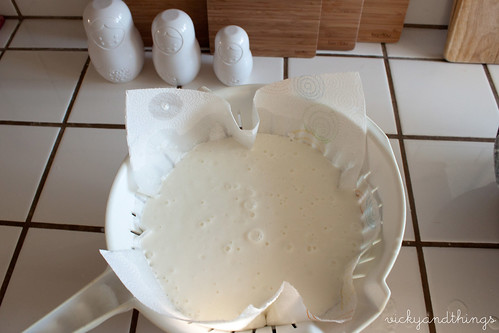
7. Ladle the yogurt in and put it in the refrigerator while the yogurt strains. I strain the yogurt for approximately 2 hours. You can strain as much, or as little, as you like the consistency of your yogurt to me.

Homemade Greek Yogurt

The whey by-product of your yogurt making can be used in almost anything that calls for milk. You can find more details at thekitchn.

  • Refrigerated yogurt will keep for 7-10 days in an air tight container.
  • Add a little bit of sugar if you don't like plain yogurt in all its glory

Monday, February 6, 2012

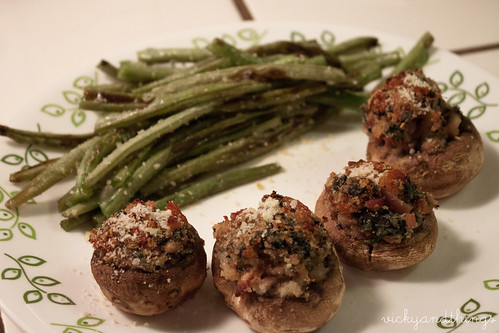
Roasted parmesan green beans & Spinach bacon stuffed mushrooms

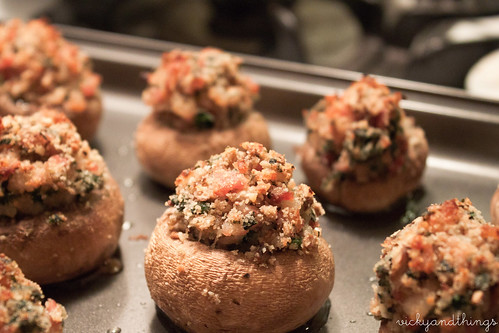
Stuffed mushrooms and Parmesan roasted green beans

Stuffed mushrooms and Parmesan roasted green beans

The other night, I made Roasted parmesan green beans and spinach and bacon stuffed mushrooms from skinnytaste.com, and we practically inhaled our dinner. Instead of buying whatever meats and produce is on sale when I go to the market and going to 5 different markets to get the best value for whatever I need to buy and making my fiancé (any myself) crazy, I am trying a new approach. Buy whatever you need in 1-2 stores. I don't know if this will stick, but so far, so good. I'm less stressed after work since I have fewer errands to run and we are not tossing out food we never end up cooking. I never use to cook with recipes, and now, I am trying to cook with more variety. Let's face it, you can only eat Chinese food for 25 years until you say "enough is enough!"

Saturday, February 4, 2012

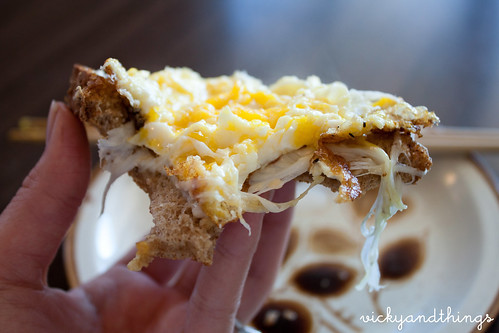
Breakfast: fried egg on toast

Fried egg on toast

This morning I was craving Croque Monsieur, but I wasn't about to get out of my warm bathrobe and run to the store to get ham and Guyere. All I had was bread, eggs, parmesan, and mozzarella.

Nostalgic morning wishing I were back in Paris again.

Ingredients:

1 slice of whole grain bread
1 egg
3 tbsp canola oil
1 tbsp parmesan
3 tbsp mozzarella
1 scant pat of butter
salt and pepper to taste

Directions:

1. Put the butter on the toast and set it in the toaster oven just for 1 minute to warm the bread and butter. Spread evenly.

2. In a 1 quart sauce pan with a lid, put the oil in and turn stove on high heat.

3. Sprinkle parmesan on the toast, then mozzarella on top. Put it back into the toaster oven for about 4-5 minutes, until it is slightly crunchy.

4. Sprinkle salt and pepper to taste on the egg.

5. Now, your oil should be very hot. Crack one egg (or two if you're hungry) and quickly cover with the lid, leaving it slightly ajar**. Once bottom is crunchy, flip egg over for 4-5 seconds and quickly put your egg on the toast.

5. Break the yolk. Spread it all around, then devour.


**The trick is to leave the lid open so it doesn't fully cook the egg right away. I usually crack the egg into a bowl and use the bowl to dump the egg in so I don't burn myself. You are not making a sunny side up egg. You are making a fried egg, where the bottom and sides are crunchy, yet un-burned, and the egg yolk is still raw. This takes practice, believe me.

Wednesday, February 1, 2012

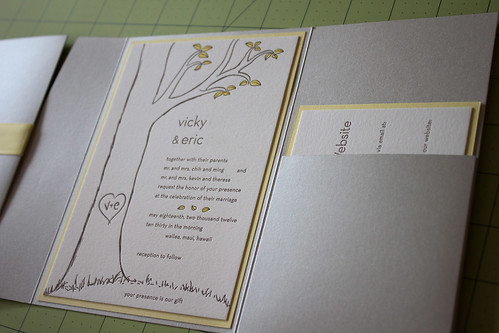
DIY Wedding Invitations Tutorial

DIY wedding invitations

Materials:

Measurements:

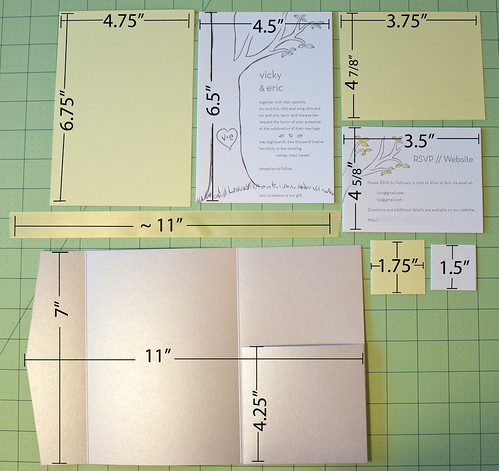
Before we get into detailed instructions, here are the major measurements:

DIY wedding invitations

Pocket fold Instructions:

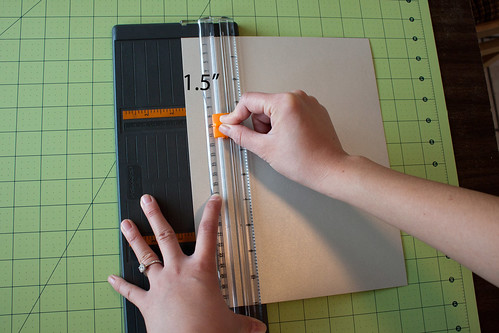
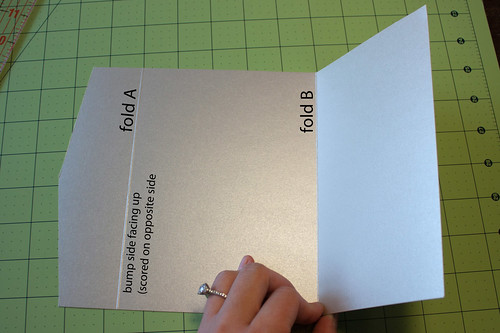
1. Cut your 8.5" x 11" card stock down to 7" x 11".

DIY wedding invitations

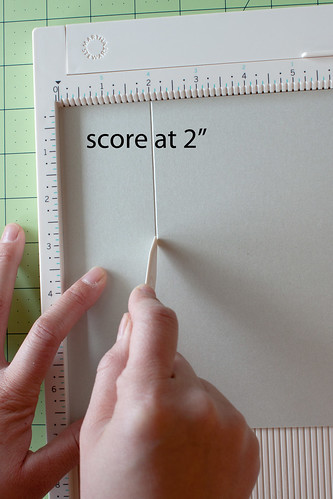
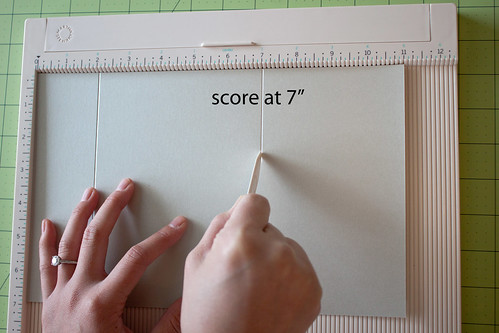
2. Score the paper parallel to the 7" side at the 2" (Fold A) mark and at the 7" (Fold B) mark:

DIY wedding invitations

DIY wedding invitations

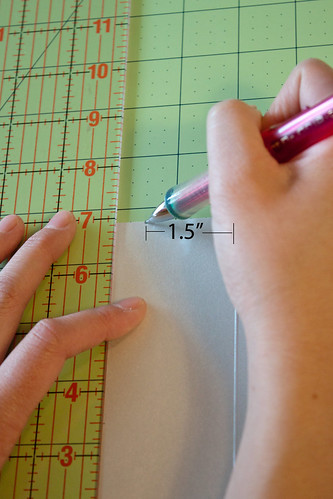
3. Mark 1.5" left of Fold A and 3.5" down the edge of Fold A with a pencil.
DIY wedding invitations

Line up the two points with your ruler and cut. These cuts give you the angled flap.

DIY wedding invitations

4. Flip card over so the bump from the scoring is facing up and Fold B in, then Fold A in.

DIY wedding invitations

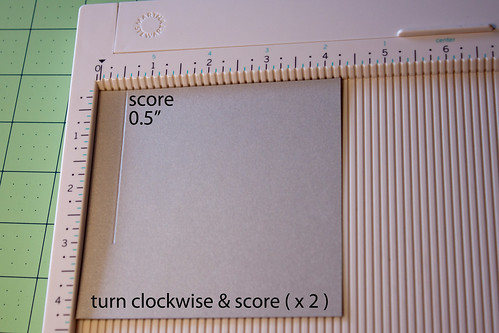
5. Using the same card stock, cut 4.25" x 4 15/16" for the pocket.

DIY wedding invitations

Score 0.5" from the edge on the 3 edges as shown.

DIY wedding invitations

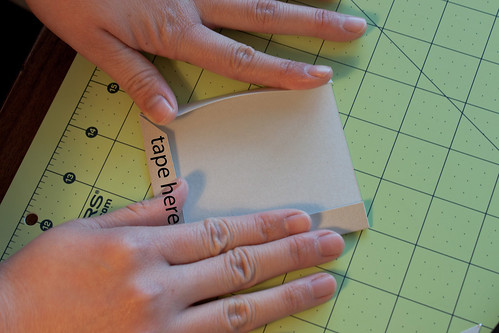
6. Flip it over with bump side up and cut the dotted edges shown

DIY wedding invitations

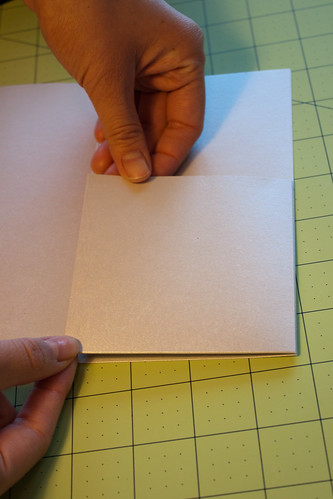
Fold in.

DIY wedding invitations

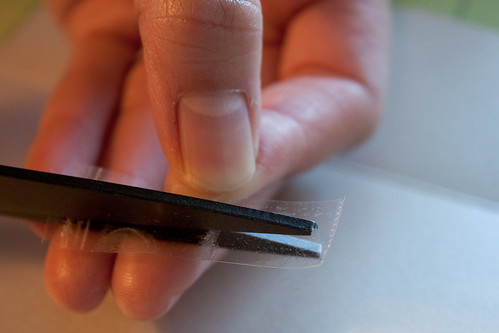
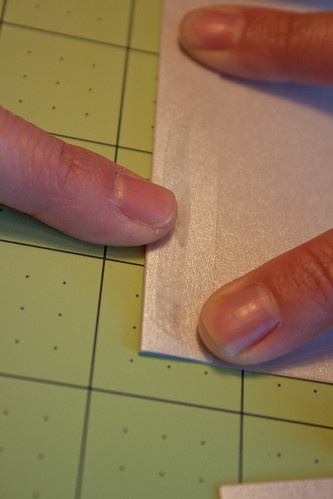
7. Cut the double sided tape in half. Using .25" tape, affix on all tabs. If you leave it at 0.5", it will go over the edge.

DIY wedding invitations

DIY wedding invitations

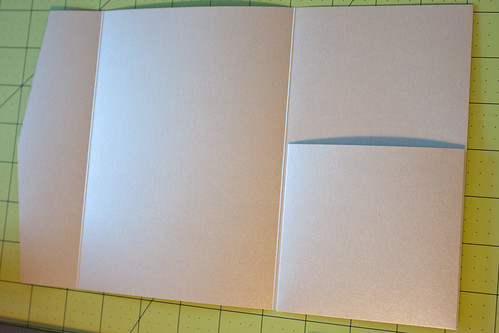
8. Place pocket onto the right panel of previously made folder.

DIY wedding invitations

Ta da!

DIY wedding invitations


Border instructions:

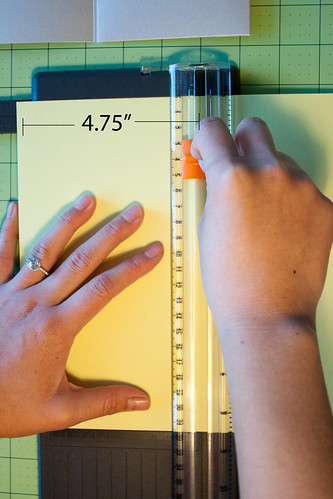
1. Using your border color paper, cut paper to 4.75" to 6.75" (gives you 1/8" edges all around). This is for the main invite in the center of your pocket fold.

DIY wedding invitations

2. For your RSVP/Insert for the pocket, cut paper to 3.75" x 4 7/8"

3. For your Monogram, cut paper to 1.75" x 1.75"


Assembling/Final touches:

1. Cut ribbon to ~11"

2. Using 1/2" double sided tape, affix border mat onto pocket fold for the main invite, then invite onto the mat. Affix RSVP/insert onto its border mat and slide the matted RSVP/insert into its pocket.

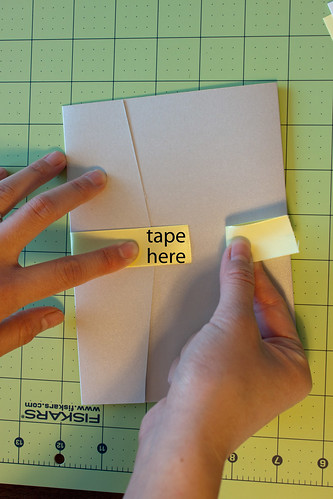
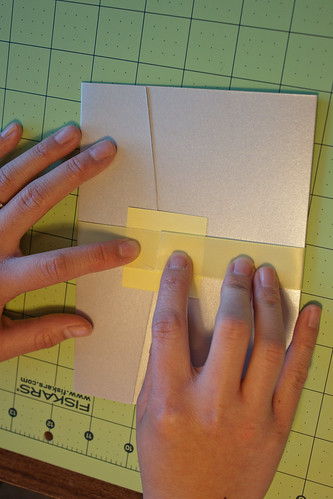
3. Close the invite to put ribbon finish. Wrap ribbon around pocket fold snug, not too tight, and use double sided tape to hold together.

DIY wedding invitations

4. Put the border color paper behind the ribbon, against the pocket fold and tape down.

DIY wedding invitations

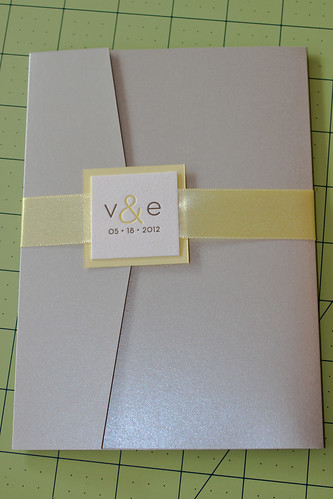
5. Put the monogram on top of the ribbon and tape down.

DIY wedding invitations

Voila! Now do this times 50, 100, or 200.


Related Posts Plugin for WordPress, Blogger...