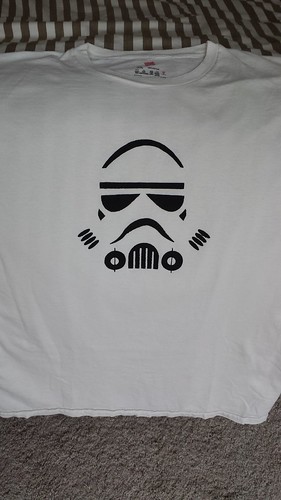
I made this stormtrooper tshirt for my star wars loving husband using the freezer paper method.
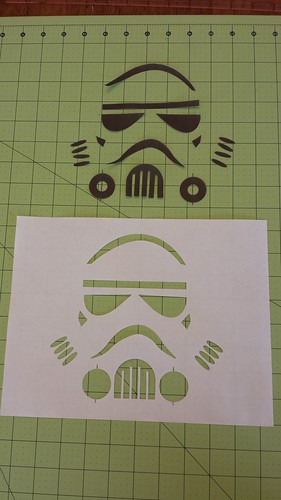
First, I cut up freezer paper to 8.5" x 11" and flattened it out so I can feed it through my printer. I found this image online and resized it to make it larger for the t-shirt. I was pleased to find it successfully printed instead of seriously jammed into my printer. IMPORTANT: Print on the matte side, NOT the shiny side.
Next, I cut it out using an exacto knife. Save the little white cut out from the orb part of this cut out. you'll need to iron the little pieces in place.
Which reminds me, I really really really want to get the silhouette cameo! If you don't know what it is, google it. You won't regret it.
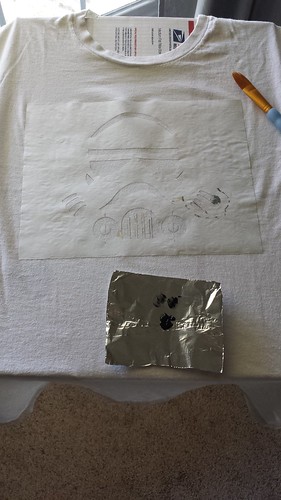
I ironed this on using a low setting. Make sure you iron the shiny side down. That has the wax that adheres to the t-shirt. And apparently, no this is not the same as wax paper. I did my research :)
Iron it down as best as you can. Test all the edges with your finger.
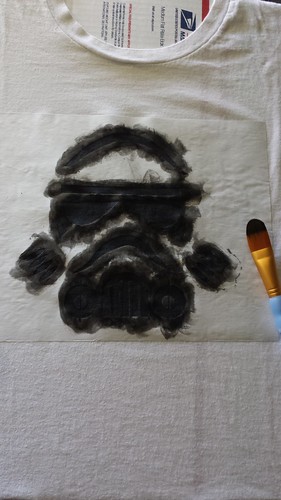
I used a brush and brushed it on using ...well a brushing motion. Later, I learned that it's best to use a stippling motion with a stiff brush. Or use a foam brush. I used whatever I had on hand.
I used scribbles paint from JoAnn. It's permanent fabric paint, and it's supposed to be used as puffy paint but the store associate says you can use it as regular paint with a brush. The only thing that makes it puffy is the way it squeezes out. Who knew? And it was the only thing available at the particular store I was in...so I just went with it. I found that it was very wet and thin. Not as viscous as I was expecting but this is the first time using fabric paint so I don't know what it is supposed to be like. The larger stores have a bigger and better selection. Next time...


No comments:
Post a Comment