
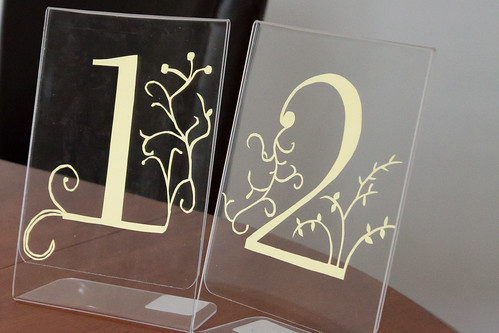
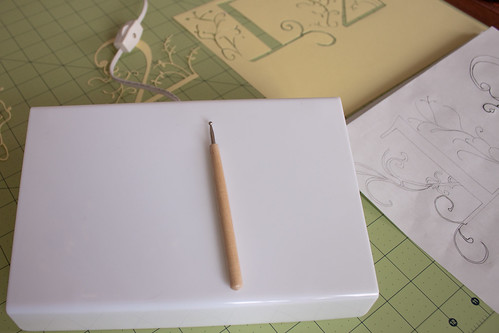
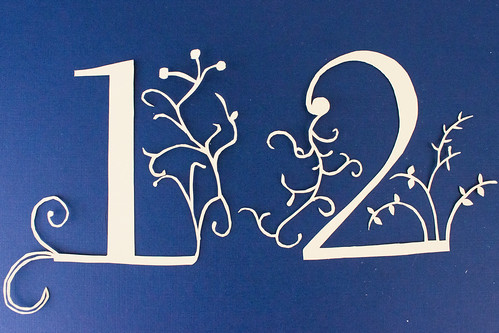
Materials: light box, stylus, #11 exacto knife, pencil, self healing mat, paper (I used 65#C in yellow), 5X7 acrylic clear photo frame, binder clips, and a lot of patience!
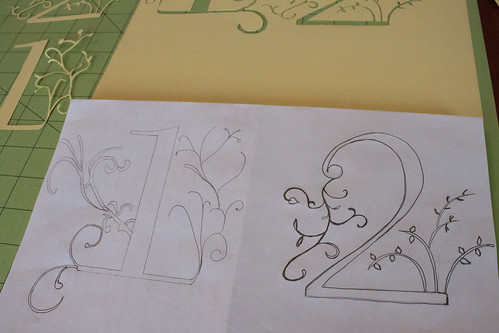
Draw out the design on regular white paper. I folded the paper in half to have the same canvas space so each number is roughly the same size. Make it as dark as possible as you will be tracing it onto the paper you will be using to make the cut.

Position the drawn side of your white paper onto the paper you will be cutting on and clip the top of the papers together. Use the stylus to go over all lines to copy over the image. When you are finished, you should have the wrong side of the image transfered onto the paper you are going to cut. Now, all you need to do is cut out all the "white space"!
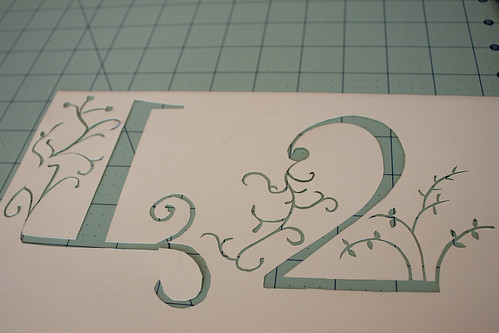
You should be left with this cut out. You'll have light pencil marks from the transfer that you can erase. Be very careful not to rip the paper because of the thin cuts. I just smashed my eraser really hard onto the paper to pick up the markings. It worked for me!


No comments:
Post a Comment